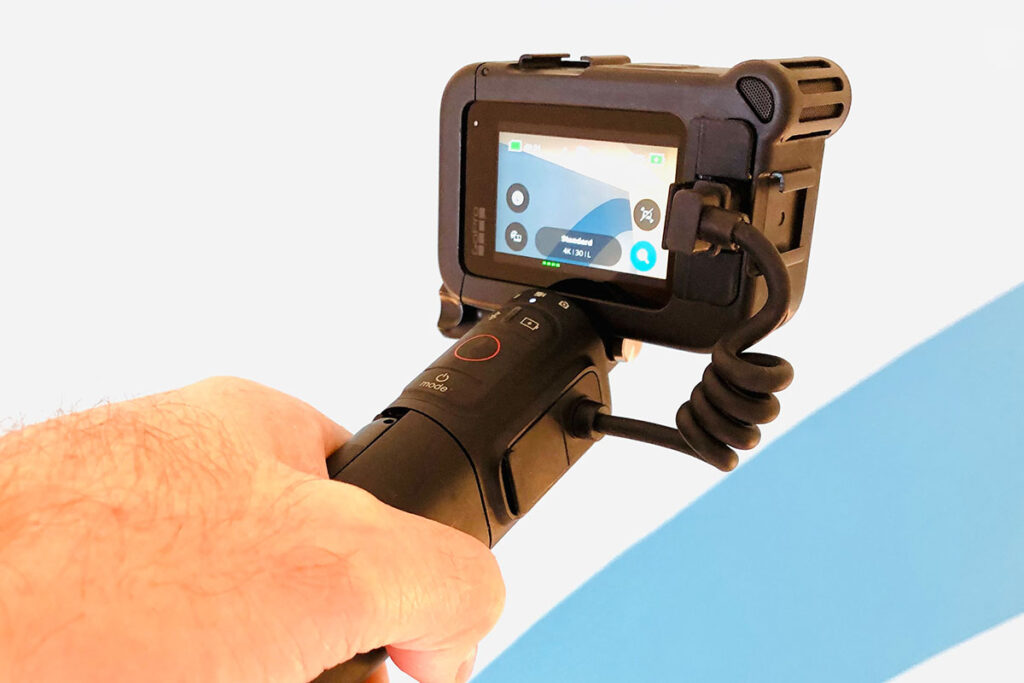
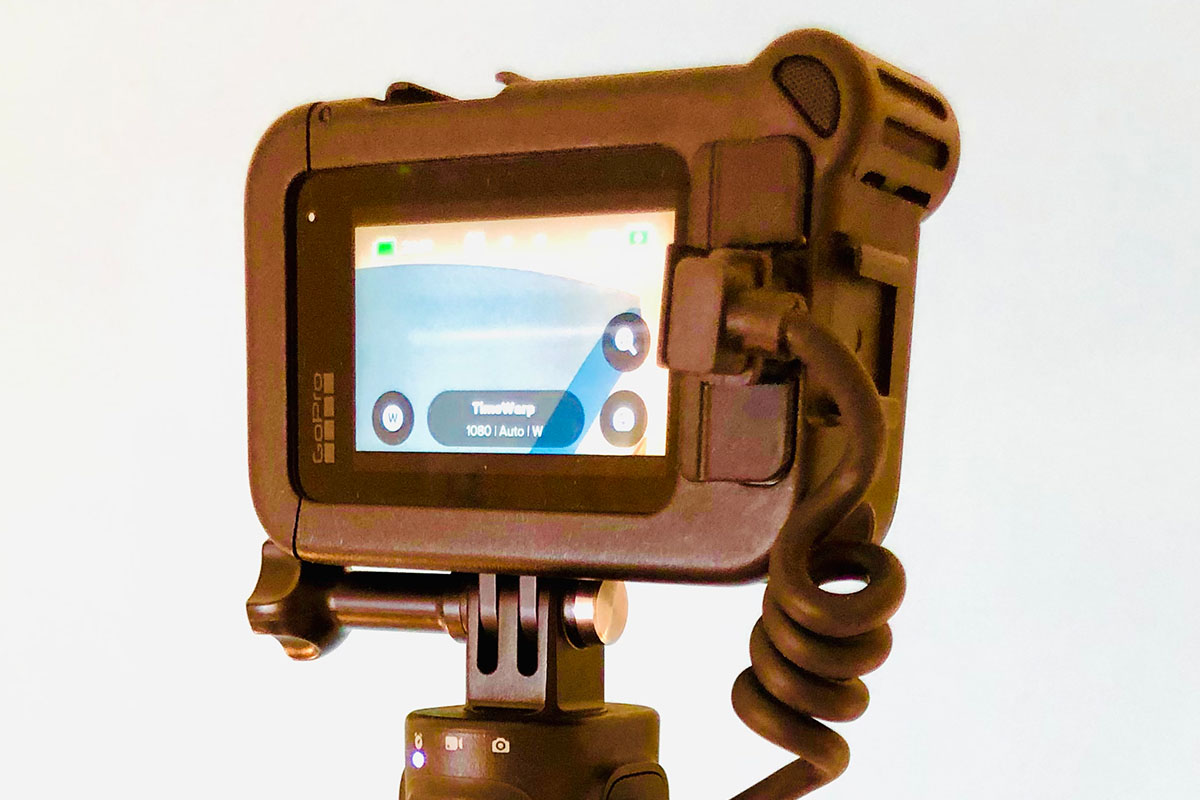
The GoPro Media Mod aims to turn your humble GoPro Camera into a production powerhouse! We have some simple tips and tricks to help you master your GoPro Media Mod.
Note: This post may contain affiliate links. Please read our disclosure policy for more information.
Tip #1 – Glue On The Windscreen
The Media Mod Removable Windscreen helps to reduce wind noise in gusts up to 20 mph. It has a very clever snap-on-pop-off design, but I have some sad news for you. You are probably going to lose your windscreen if you don’t glue it on. It pops off just a little too easily, especially when you put your camera into bags or boxes.
And purchasing a replacement GoPro Windscreen is no easy feat, they are definitely not available in the GoPro Store. In fact, I have yet to find an after-market Media Mod Windscreen to replace mine.
How your glue your Windscreen to your GoPro Media Mod is up to you, but if it was me I would use 2-3 strategically placed drops of super glue, putting them first onto the media mod, then clipping on the windscreen.
Tip #2 – Glue On The Light Mod Diffuser
The Light Mod is strictly not a part of the Media Mod, however, chances are that if you are using the Media Mod, you are also using the Light Mod. Especially since the GoPro Hero 11 Black Creator Edition comes with both the Media Mod and the Light Mod supplied.
Here’s the thing. The diffuser is a soft cover that sits over the top of the LED Light. And the diffuser comes off very easily, meaning you will most likely lose it. I glued my Light Mod Diffuser on with 2 drops of Super Glue in opposite corners, now it won’t get lost.
Tip #3 – Do Not Get The Media Mod Wet
News Flash! The Media Mod is not waterproof! If you immerse your media mod underwater, you are likely to destroy both the Media Mod and the GoPro Camera.
Tip #4 – Choose the Front or Rear Microphone in GoPro Settings
Here is the menu sequence to follow:
- Tap the Video settings.
- Tap edit (pencil icon) next to the preset you want to adjust.
- Scroll down and tap the [Mics] setting.
- Scroll through the options on the right and choose the one you want.
- Front (default) selects the media mod front microphone.
- Back selects the media mod back microphone.
- Stereo selects the GoPro internal microphones. Only use if the wind is not a factor.

Tip #5 – Swap From Front to Rear Microphone Using Shortcuts
One of the good things about the Media Mod is that you can easily swap from the front to the rear microphone, right from the GoPro Rear Menu. Check out our full article on the Best GoPro Settings For Hero 11 Black, for a full description of how to do this.
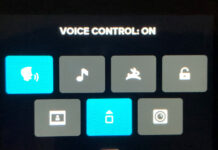
Here’s how you do it. Simply press and hold an existing shortcut and then choose Microphones from the list on the right.
Tip #6 – Record Pro Audio At a Distance
The Audio Quality of the Media Mod Microphones is… well… not bad. But it’s not great either. If you want great-quality audio then you should attach a pro-quality external microphone to the cold shoe mount. You have 2 cold shoe mounts to choose from – on the top or on the side.
Which Microphone to Use?
When it comes to selecting a shotgun microphone, we absolutely love the Rode Brand, which are made in Australia so you know they’re great 🙂 Here are our 2 recommended Rode microphones, which will provide pro-quality audio at an affordable price.
- Rode VideoMicro is a high-quality on-camera microphone that’s ideal for vlogging and filmmaking with your GoPro Camera.
- Rode VideoMicro II is a professional-quality microphone that will instantly elevate the audio of your GoPro Camera.
Which GoPro Setting to Use for External Mic?
Make sure you select the best GoPro setting for your external microphone. If you are having trouble deciding which one, check the documentation which came with your external microphone. Here are your options:
- Standard Mic (Default): standard non-powered mics.
- Standard Mic+: Increases standard non-powered mic sensitivity by 20dB if the audio is not loud enough.
- Powered Mic: for self-powered mics.
- Powered Mic+: Increases standard powered mic sensitivity by 20dB if the audio is not loud enough.
- Line In: Use with audio equipment other than a mic (mixer, guitar preamp, karaoke machine, etc.).
Tip #7 – Clip a Wireless Microphone To Your Media Mod
We love the Rode Wireless Go II. It is a high-tech wireless microphone that is essentially a lapel-style microphone. This will instantly give you pro-quality audio every time.,
Part A of the Rode Wireless Go II clips to your shirt or collar, and is a lapel microphone-style Sound Source. Part B of the Rode Wireless Go II is the receiver, which conveniently attaches to the cold shoe mount of your GoPro Media Mod. You simply plug the 3.5mm jack into the Media Mod 3.5mm external mic port. It couldn’t be simpler!
Tip #8 – Never Change The Battery
Changing GoPro batteries can become a bit of a chore when using your media mod. But not if you attach it to a GoPro Volta battery hand grip. The Volta pretty much triples the battery life of your GoPro, so you will rarely if ever have to change GoPro Batteries.
Tip #9 – Use Micro HDMI Out
The Micro HDMI Out port on the GoPro Media Mod allows you to play your footage directly onto any large screen that has an HDMI cable. All you need is a micro HDMI to HDMI cable, and you have convenient large-screen playback at your fingertips.
To check out the display resolution on the big screen, refer to the GoPro Media Mod HDMI Out page.
Tip #10 – Add An Extra Display
When you are a vlogger, it is super handy to have an extra display to see the recording as you go. Bring on the Display Mod. This handy 2-inch flip screen makes vlogging easy and attaches to the media mod via the cold shoe mount and the mini HDMI port. You need the media mod to attach the Display Mod.
Tip #11 – Firmware Updates
Lastly, make sure your GoPro is running the latest firmware to take full advantage of your media mod. Media Mod adds new microphones, audio input, and HDMI settings to your GoPro, but make sure your camera is using the latest software to access these settings.
2 Ways to update your firmware:
- Update Your Software automatically with the GoPro Quik App, available on either the Apple or Google Play app stores.
- Update Your Software manually by visiting gopro.com/update. Choose your camera from the list of cameras. Select [Update your camera manually] and follow the instructions.
Tip #12 – Transferring Your Data
The USB-C port on the Media mod is only for charging. You cannot use it for transferring data. For that, you will need to remove your micro SD card or connect wirelessly to the cloud or the Quik app.
Tip #13 – Mix and Match Your Mods
The GoPro Media Mod comes with 2 cold shoe mounts, so why not use them both? Here are some of the combinations you could try:
- GoPro Media Mod Directional Microphone + Light Mod + Display Mod
- GoPro Internal Stereo Microphone + Light Mod + Display Mod
- Rode Shotgun Microphone + Display Mod
- Rode Shotgun Microphone + Light Mod
- Rode Wireless Microphone + Display Mod
- Rode Wireless Microphone + Light Mod
I’ll even bet that a hardcore vlogger could attach the Light Mod and Display Mod using the 2 cold shoe mounts, then find a creative way to attach the Rode Wireless Microphone receiver.
Media Mod = Production Powerhouse
If you aspire to be a Vlogging Machine, the GoPro Media Mod is your Production Power House! One last tip is that you can get a great discount on a new GoPro if you purchase it using the Creator Edition, which comes complete with Media Mod, Light Mod, and Volta. Amongst other things. Vlog On!
Be sure to check out our ariticle on How to Use Your GoPro for Travel Vidoes.


