Capturing video with a GoPro in low light conditions is challenging to say the least. You have definite limitations due to the smaller image sensors used in GoPro cameras. But with a bit of knowledge and practice, you can definitely improve the quality of your footage. Here are 11 tips for GoPro in low-light situations to get you started.
Note: This post may contain affiliate links. Please read our disclosure policy for more information.
Is GoPro Good for Low Light?
The image sensor is the main issue with GoPro cameras when it comes to low light. This is the number 1 determining factor for how pleasing low-light videos and photos turn out. The bigger the image sensor, the better quality photos, and videos are shot in low light.
DSLR cameras excel in low-light footage. For example, an entry Nikon D5300 DSLR camera is equipped with a 23.5 x 15.6 mm CMOS image sensor. Move up the Nikon range to the D750 and the CMOS image sensor is a whopping 35.9 x 24.0 mm. That’s a seriously big image sensor that will give you amazing low-light photos and video.
The GoPro image sensor, on the other hand, has always been 1/2.3″, which translates to 6.3 x 4.7mm. These are only about a quarter the size of the Nikon D5300 DSLR camera. It is true that GoPro image sensors are great in well-lit environments, and that’s what they are designed for. But in low light, GoPro’s produce grainy, noisy images. This is a hardware limitation and cannot be fully fixed, no matter what adjustments you make to the GoPro camera.
The new size for GoPro image sensors with the introduction of the GoPro Hero11 Black is 1/1,9″ with an 8:7 Aspect Ratio. This means your image will be taller than the traditional 4:3 aspect ratio, but will it give better performance in low light? Unfortunately not, the GoPro Hero11 Black still performs similarly to the GoPro Hero10 Black in low light conditions. So you will still need to optimize your GoPro low light settings to get the best shots.
Tips for Using GoPro in Low Light
So now you have the bad news, let’s try to do the best we can with what we’ve got. Here are my best tips to help you capture the very best GoPro video and photos possible in low light conditions.
Tip 1 – Turn ProTune ON
Firstly, you will need to turn ProTune ON to enable manual control over the most important GoPro settings. Here are the best ProTune settings for your GoPro low light settings.
- Shutter = Auto
- EV Compensation = +0.5 for slightly dark or +1.0 for really dark
- White Balance = Auto
- ISO Min = 400 for slightly dark, 800 for medium-dark, 1600 for very dark
- ISO Max = 800 for medium-dark, 1600 for very dark
- Sharpness = Medium
- Color = Flat
- Raw Audio = Off
Pro Tip: To lock the ISO value onto a specific value, set the ISO min and ISO max to the same value.
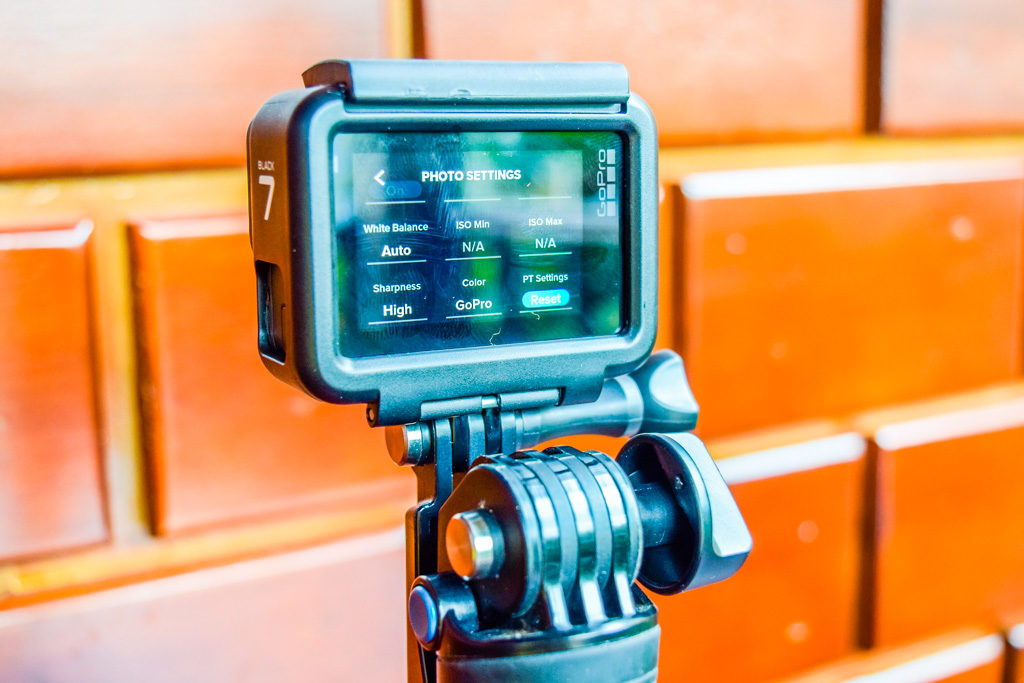
Typically the ISO will be either 800 or 1600 for low light, 800 is preferable. If you can get away with lower ISO settings then definitely do it, you will have a less grainy result. This is definitely the most important GoPro low-light setting to get right.
Pro Tip: Rule number 1 in all forms of photography is to use the lowest ISO setting you can get away with. This will help to avoid noisy photos/videos.
Tip 2 – Lower the Frame Rate
Using a lower frame rate will let more light in, thus decreasing the amount of grain/noise in the footage. 2.7K resolution with 24 frames per second is the preferred resolution/frame rate setting for low light. Note that you will have to set your aspect ratio to 16:9 to use 2.7K resolution.
If you wish to use a 4:3 aspect ratio, you may choose 1080P x 24 frames per second. This aspect ratio is, of course, personal preference. Personally, I prefer 16:9, which is the standard YouTube size.
Tip 3 – Increase the Resolution
Nighttime is the perfect time to increase your resolution. Go all the way, to 4k if you like. Your footage will definitely come out better than using a lower resolution like 1080P. Definitely do not under any circumstance go lower than 1080P.
Tip 4 – Have a Test Run
It is important to have a test run to check your results, especially if you have a one-off event to video or photograph. Try to match the exact light conditions, then record the video or photo. Check the results on a large screen like an iPad or computer.
You may have to tweak either the EV Compensation or the ISO Maximum settings. Try to make these settings as low as possible without making the footage too dark because lower settings will reduce the amount of grain or noise. Keep tweaking and checking until you get the best GoPro low light footage possible under the conditions.
Tip 5 – Use iPhone Screen to Remote Control GoPro
It’s a little hard to see exactly what’s going on with the GoPro by viewing the LCD GoPro screen, it’s just too darn small. The easy solution is to connect your GoPro wirelessly to your iPhone via the GoPro app.
Not only can you see what’s going on in greater detail, but you can also easily tweak the most important low-light GoPro settings such as ISO and EV Compensation, right from the iPhone via the GoPro app.
Tip 6 – Use Post Production Editing
Your grainy or noisy image can be cleaned up more with good quality software such as Final Cut Pro X. There is a multitude of effects to choose from, but the best I’ve seen is the Noise Reduction effect in Final Cut Pro X. In FCPX you can even combine this with other effects such as sharpness to improve the results further.
Pro Tip: Whatever software you are using, just Google noise reduction using XYZ software to discover the best effects to apply.
Tip 7 – Use a Tripod
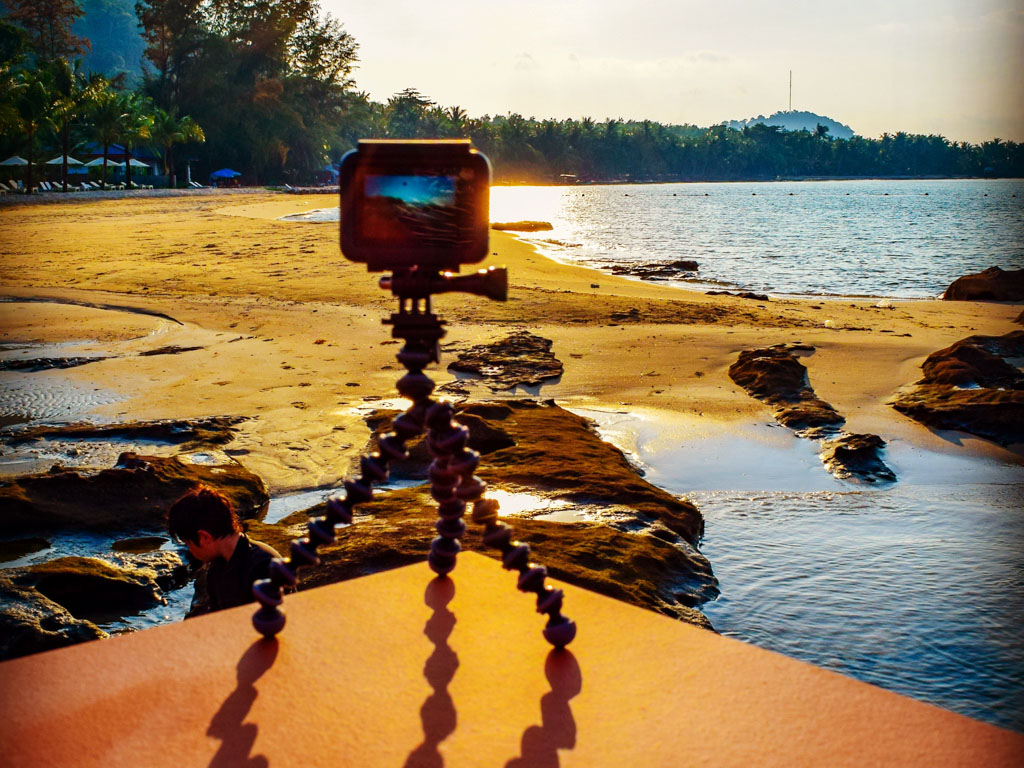
A tripod will dramatically clean up your low-light footage. GoPro Stabilization is a wonderful thing, but there have been many tests done that show that GoPro stabilization software messes up your low light footage by adding unwanted noise.
We recommend the GoPro Volta, a battery hand grip, remote control, and tripod all in one. You get about triple the normal GoPro Battery Life, so it is also perfect for low-light time-lapse video.
Pro Tip: Also think about the GorillaPod Video PRO tripod which comes with a GoPro light mount. This way, you can mount a light near your camera to make the scene a little brighter.
Tip 8 – Don’t Be Fooled by LOW LIGHT Mode
You could be forgiven for thinking that Low Light video mode will magically fix your video footage in low light. Wrong! Pretty much all this setting does is decrease the frame rate when the camera is not performing well. In fact, it will only kick in when you’re videoing at 48 fps, 60 fps, or higher.
All Low Light mode does is temporarily decrease the frame rate to 30 frames per second to let more light in. But if you recall Tip 2 – reduce the frame rate to 24 fps. If you follow Tip 2 then the Low light mode will not even work.
Tip 9 – Try Night Lapse Mode
GoPro has a wonderful feature called Night Lapse Photo mode. This a little tricky to master, and you will definitely require a quality tripod to nail it. But it’s definitely worth a shot for some crazy impressive photos. Here’s a GoPro article to explain how to do it.
Tip 10 – Use an External Microphone
Ok, so this is for anyone recording rock concerts, which are generally low-light events. And that is: don’t forget the external microphone! The internal microphones on the GoPro are renowned for being rather ordinary.
By attaching a Rode VideoMicro to your GoPro, your low-light rock concert can become extraordinary. Your video may be a little grainy, but your audio will rock!
Tip 11 – Use Your Feet
OK so this might sound kind of obvious, but sometimes you just need to be prepared to use your feet to move to a brighter location. More light means less noise when it comes to GoPro cameras in low light.
For instance, you might be just a few meters away from a light source like a street lamp. Just by moving your camera location closer to the light source, it is possible to make a remarkable difference to your low-light footage. Just remember to adjust your max ISO and EV compensation to suit (refer to Tip 1).
Bonus Tip #1 – Update Your GoPro
Now for a quick bonus tip. Just like mobile phones, each new GoPro comes with an impressive new set of features. These will undoubtedly improve your GoPro low-light photos and videos. Oh, and don’t forget to update your GoPro firmware too.
The only difference with GoPros is that the image sensors do not see the rapid improvements that you are likely to see with iPhones and other cameras. But the software improvements almost always give you extra features to use.
Bonus Tip #2 – Use the Light Mod and the Media Mod
The light mod is an awesome compact LED Light that attaches to your GoPro via a cold shoe mount, which is found on the Media Mod. This modest little investment will drastically improve your low-light shooting results.
GoPro Limitations
So as you can see, GoPro does have some severe limitations when it comes to low light. Please note that I don’t mean GoPro is not the best low-light action camera, because all action cameras have similar limitations due to small image sensors.
Follow all of the above tips and you might just end up with some reasonable low-light footage. The trick is to allow yourself time to experiment and get used to the EV Compensation and ISO settings. Just realist that, unlike DSLR which seems to have no limit to the awesome quality possible, you do have a definite limit with your GoPro in low light.
GoPro Hero 11 Low Light Settings
There aren’t a lot of groundbreaking improvements in the GoPro Hero 11 low light settings and performance. Here is a detailed clip to explain subtle differences.
GoPro Hero 11 Low Light Settings
- Frame rate: 24 fps
- Resolution: 4k
- Lens: Wide Lens
- Hyper smooth: Auto Boost
ProTune Settings:
- 10-Bit Colour = On
- Bit Rate = High
- Shutter Speed = Auto
- EV Comp = 0
- White Balance = Auto
- ISO Min = Auto
- ISO Max = Auto
- Sharpness = Medium
- Color = Vibrant
- RAW Audio = Off
- Wind = Auto
- Media Mod = Front (Depends on how you are using the GoPro)
GoPro Printable Cheat Sheet
Click below to download a handy printable GoPro for Beginners Cheatsheet. We’ll give you some quick help on the following:
- GoPro frame sizes and resolutions
- Frames per second comparison
- Field of view comparison
- Voice command list
- Swipe motions used on GoPro touchscreens
- ProTune recommended settings
- Time-lapse intervals, recording times, and video lengths
Be sure to check out our article: How to Use Your GoPro for Travel Videos

