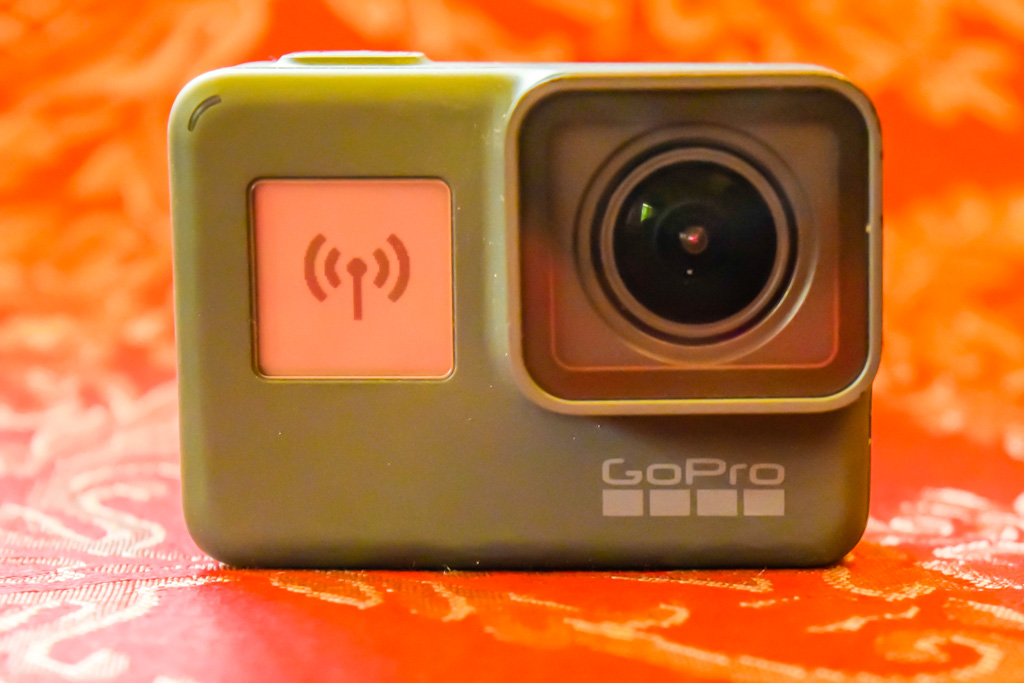
If you are serious about Vlogging, then GoPro is a great choice. Not only is GoPro an affordable Vlogging camera, but it may also be very best Vlogging camera under 500 dollars. But you need to know a couple of tricks to get good results. Let me show you the ultimate setup for GoPro Vlogging.
Note: This post may contain affiliate links. Please read our disclosure policy for more information.
The Limitations of GoPro
Like any camera, GoPro gets more and more awesome with each new model. The GoPro Hero 8 Black is aimed at Vloggers, and you can purchase lights and microphones a.k.a the Light Mod / Media Mod to add to the GoPro, specifically targeted at Vloggers.
The GoPro Hero8 Media Mod includes a built-in Shotgun Mic as well as a jack that allows you to connect your favorite microphone. Add the LED Light Mod and you are well and truly in the Vlogging business.
But these genuine GoPro accessories are rather expensive. A much cheaper option is to use a slightly older GoPro with some cheaper accessories. But there are some limitations and traps to watch for with the GoPro.
Audio Quality
It’s no secret that the audio quality on GoPros is not that great. Although I must admit, my GoPro Hero7 Black internal microphones have on occasion captured some decent audio which is quite acceptable for a vlog. But generally speaking, you will need to add an external microphone for Vlogging.
Stabilitilization
GoPro specializes in image stabilization and is better than pretty much every other camera on the market. But the truth is, before the GoPro Hero7 Black you really need to use a handheld gimbal to get stable video footage. The Hero7 Black is quite acceptable without a gimbal, which is great news for vlogging.
Low Light Video
If you want to capture a lot of low light video, then a GoPro is not a good choice. GoPro does a great job of making their cameras small and lightweight. But that means the all-important sensor is also very small.
And that means you are always going to get poor results capturing video in low light. Footage will come out grainy, no matter what you do to the setting.
The Ultimate Setup for GoPro Vlogging
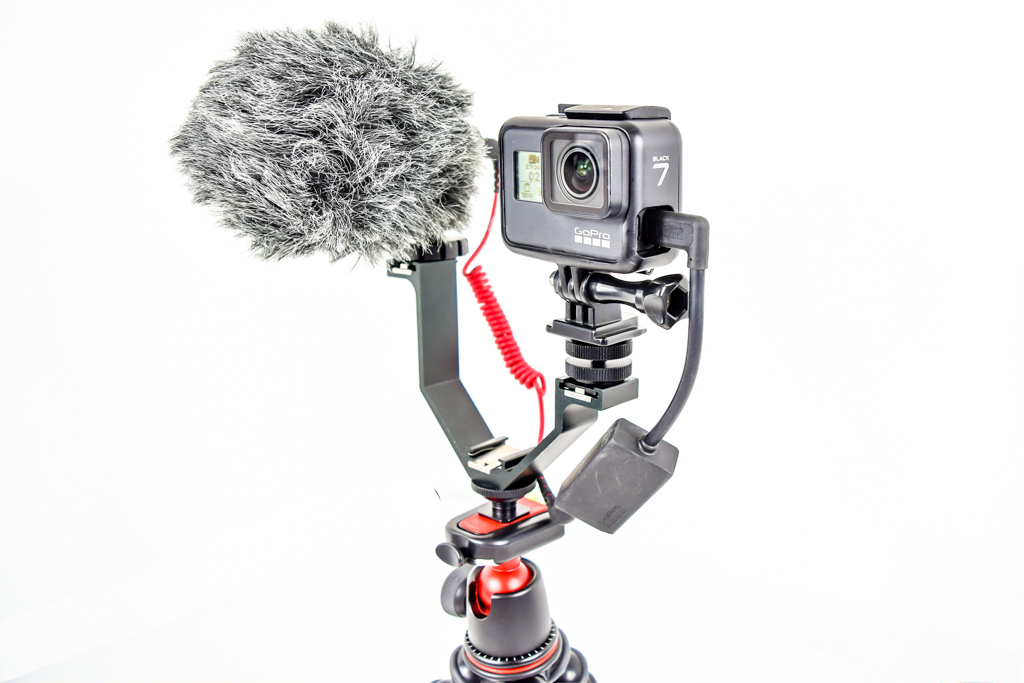
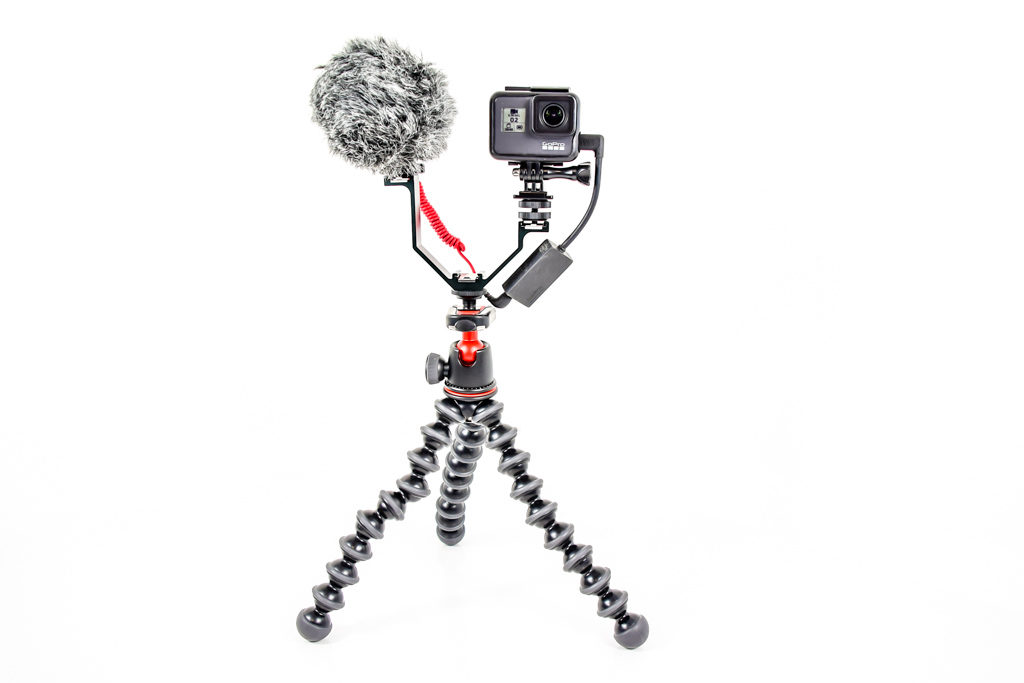
I’ve been through quite a few iterations of setups for GoPro Vlogging, and I’ve finally settled upon a setup which is almost perfect. So long as you own a GoPro Hero7 Black or newer, with the hyper smooth stabilization. Here’s what you need.
- GoPro Hero7 Black
- GorillaPod 5K Tripod
- Rode VideoMicro
- GoPro 3.5mm Mic Adaptor
- Hot Shoe 1/4″ – 20 Adaptor
- Hot Shoe Triple Bracket
Best Microphone for Vlogging
Whilst on the subject of microphones, it’s worth discussing the best microphone for Vlogging. Rode microphones are the hands-down leaders in the field, and the Rode Video Micro is the industry standard, which most vloggers use. It is very light and portable, extremely portable, and a part of practically every Vlogger kit.
The audio quality is second to none, and Rode even has a companion app to make your audio even better. But take it from me, you don’t need to get fancy by using the app. This microphone works perfectly straight out of the box.
How to Use the Ultimate Setup for GoPro Vlogging
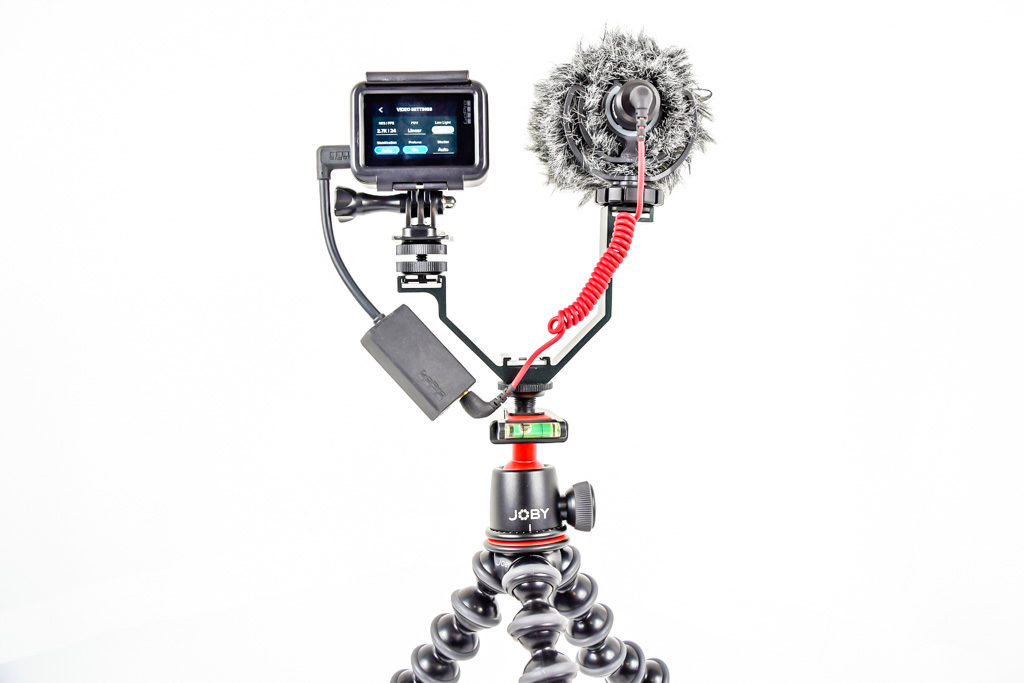
Putting the setup together is simple, you just screw it all together, level it up and start recording.
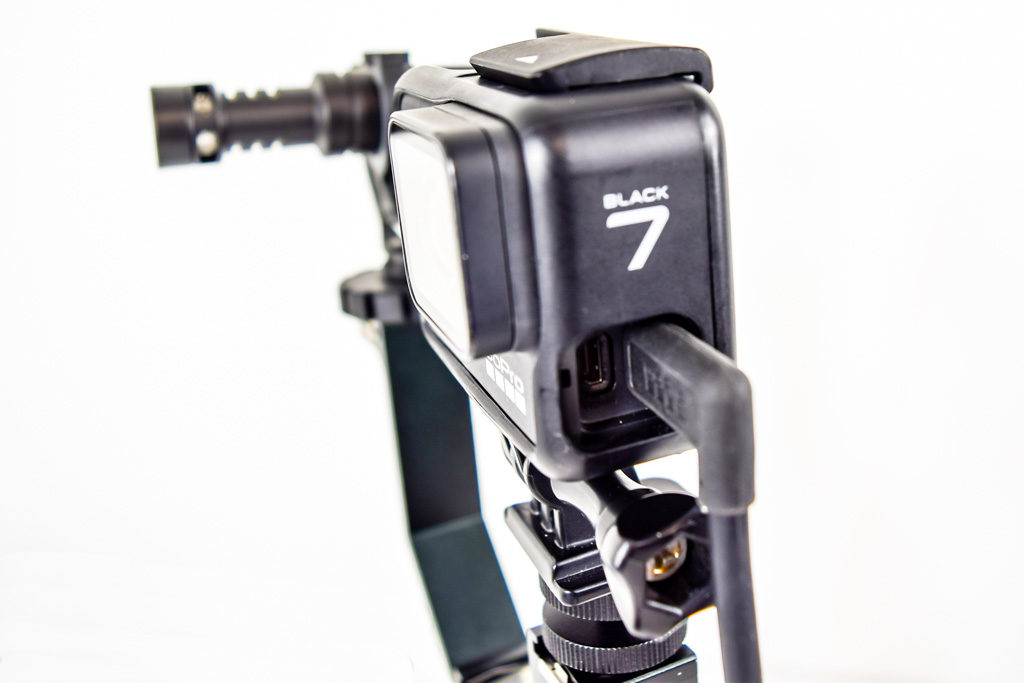
Note that you will need to remove the waterproof door from the GoPro to plug in the 3.5mm Mic Adaptor. This will make your GoPro camera non-waterproof. If you wish to retain the waterproof rating of the camera, you will need to run with no external microphone and leave the waterproof door on.
This is a light and portable Vlogging rig, and it’s even great for travel vlogging! Just beware that the extra height of the Hot Shoe Triple Bracket may induce a little vibration. This will be noticeable if resting the tripod on a vibrating surface, for example, on a moving bus.
Walking With the GoPro
It is possible to walk with the GoPro Hero7 Black or later since the Hyper Smooth stabilization is sufficient to keep the footage nice and smooth. However, you will still need to be very careful and hold the tripod as still as possible.
GoPro Vlogging Rig Variation
GorillaPod has released an amazing variation of their 3K and 5K tripods. It’s called the GorillaPod 5K Video PRO kit. Not only does it come with a smooth fluid head for improved panning, but it has a flexible Gorilla Pod arm to hold the external microphone.
For Vloggers who need to purchase the Gorilla Pod, I recommend going for the Video Pro kit. You won’t need to purchase the hot shoe bracket and adaptor and will have a smoother and more versatile vlogging rig. Good one Gorilla Pod!
Pairing up the GoPro with the Gorilla Pod and Rode Video Micro, you have quite a cheap vlogging camera with outstanding capabilities. And you have the best in the business microphone for Vlogging.
Start GoPro Vlogging
So as you can see, setting up a GoPro Vlogging Rig is actually quite simple, once you know-how. And if you already own a Gorilla Pod, the hot show mounts are inexpensive Vlogging accessories to give you an effective budget Vlogging camera setup.
The important thing is to make allowance for an external microphone like the Rode Video Micro, an absolute necessity in every Vlogger kit. Happy GoPro Vlogging, and I hope you enjoy using this rig as much as I do.
GoPro Printable Cheat Sheet
Click below to download a handy printable GoPro for Beginners Cheatsheet. We’ll give you some quick help on the following:
- GoPro frame sizes and resolutions
- Frames per second comparison
- Field of view comparison
- Voice command list
- Swipe motions used on GoPro touch screens
- ProTune recommended settings
- Time-lapse intervals, recording times and video lengths

